Auth0 is a flexible, drop-in solution to add authentication and authorization services to your applications.
While the auth0 team has done an excellent job developing a seamless integration process, getting it right your first time is difficult. There’s always a code snippet or data element that you missed.
On top of that, their integration with Webflow requires you to prepare and load additional scripts, which are simple, yes, but not well-known among newbie developers.
Here’s a detailed guide to get started with auth0 and Webflow integration.
How to implement Auth0 on your Webflow site?
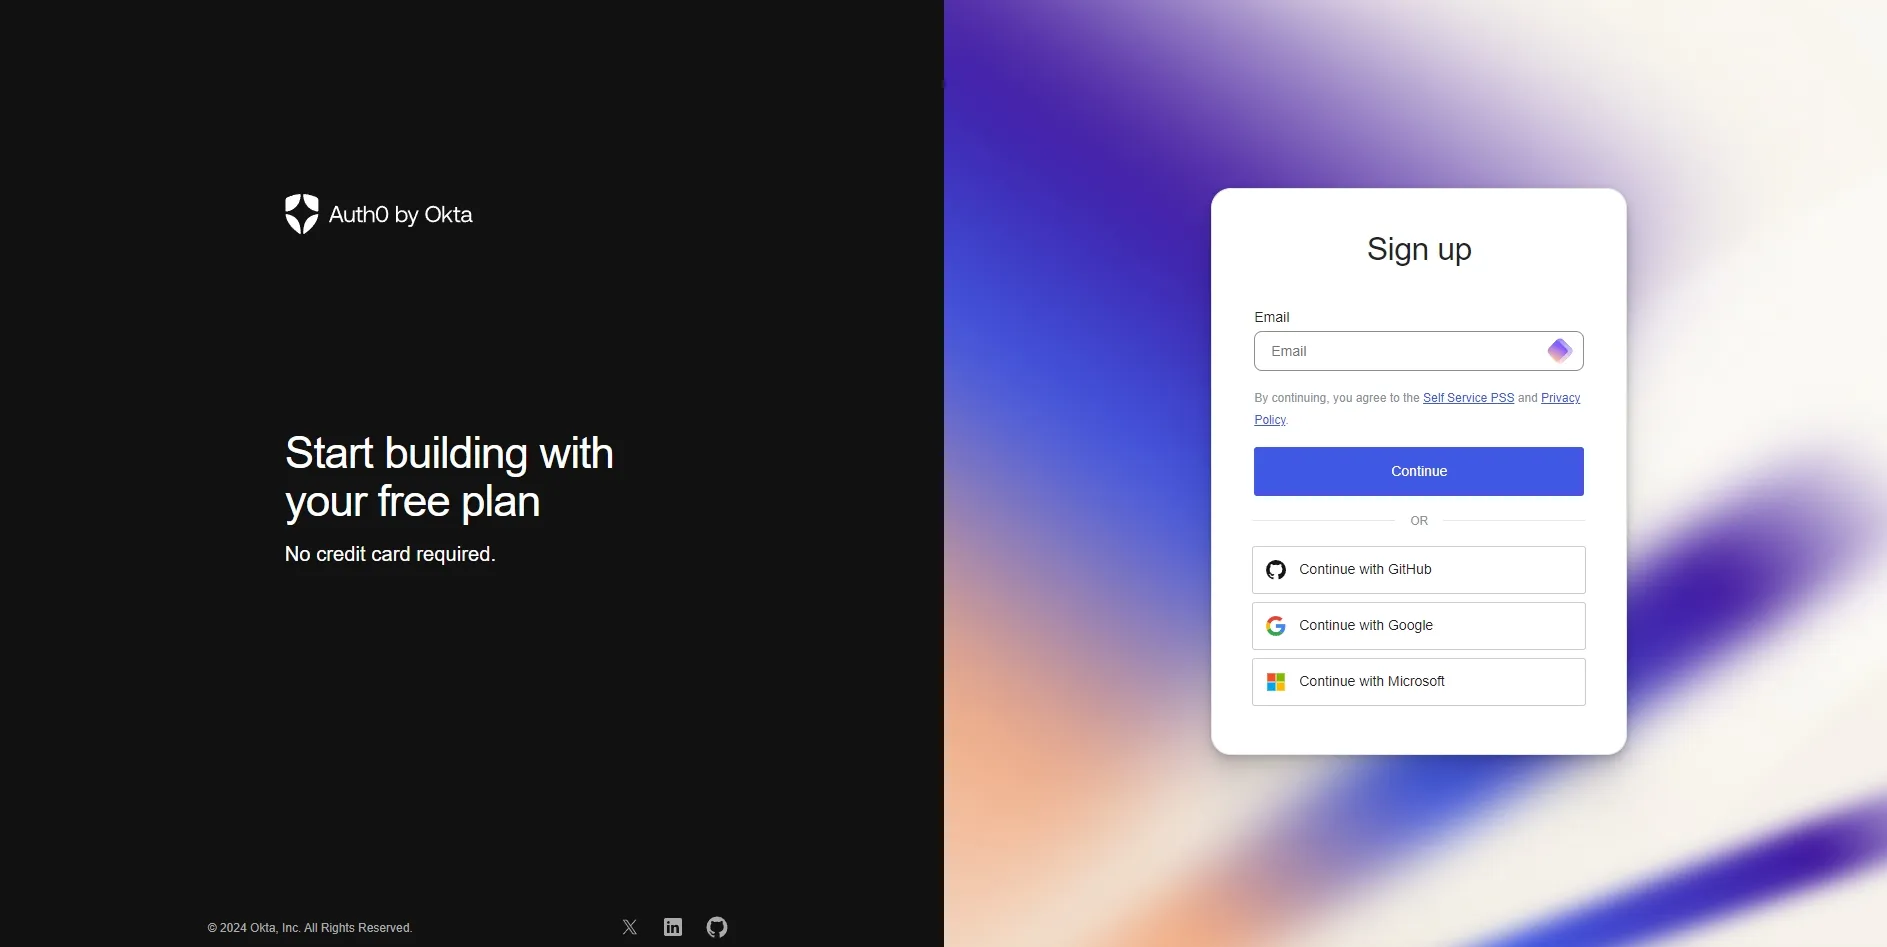
Step 1: Sign Up and Verification

Visit Auth0.com and create a new account. Provide the necessary details, such as your email address and a strong password.
Verify your email address through the link in your inbox to activate your Auth0 account.
Once you log in, it’ll ask you to set up a tenant. Add your tenant domain, select your preferred region, and choose “Development” as the environment tag.
If you already have an account, use the tenant you set up before or create a new one. I’ll use “loudface-portal” as the tenant domain for this guide.
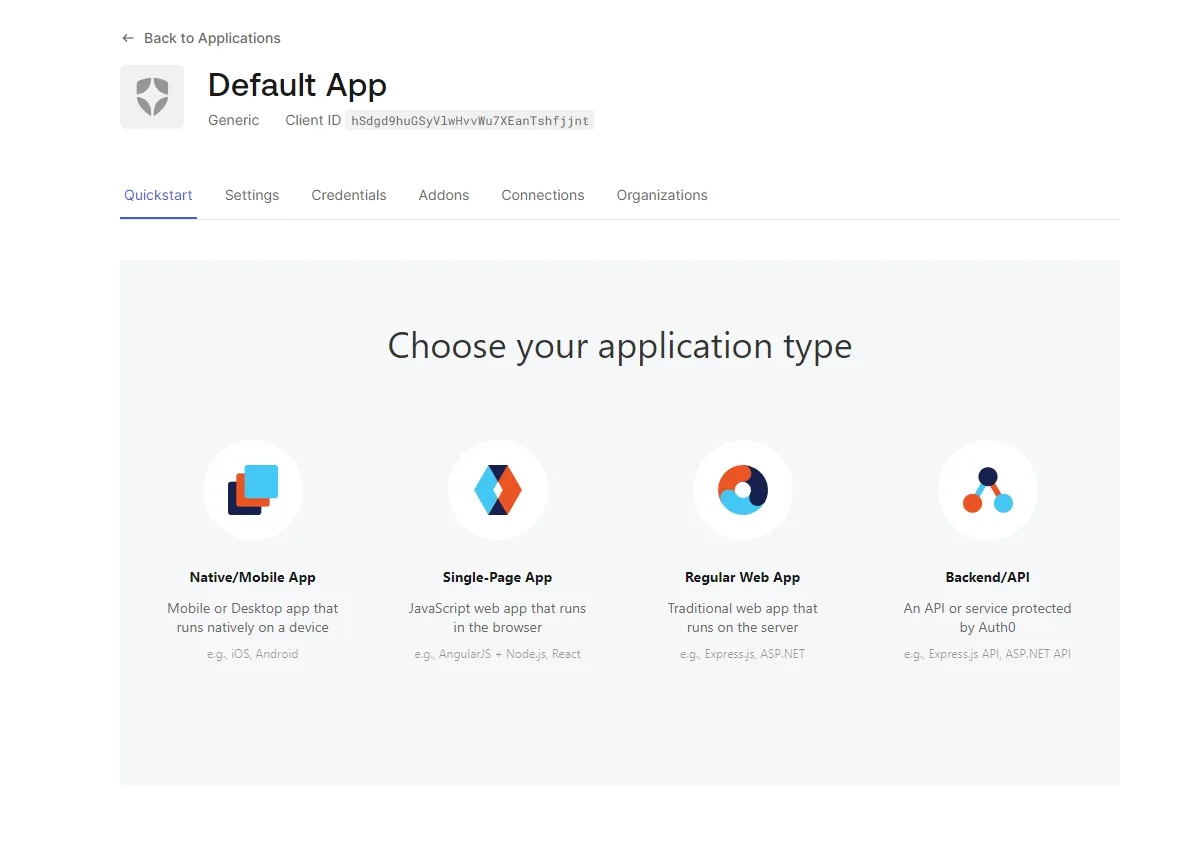
Step 2: Create a New ApplicationIn your Auth0 dashboard, create a new application by selecting the appropriate type (e.g., Single Page Web Applications, Regular Web Applications, etc.).
Here’s what you need to know about the application setup:
- Platform: Choose “Single Page Web App” because Webflow creates static pages.
- Technology: Since we’re on Webflow, we’ll use JavaScript.
- Customization: You can do the customizations according to your needs. Add your custom logo, and choose your preferred social logins and button layout.

Note: Auth0 is an SSO-style login interface. In SSO, the login page is external to the app and managed by Auth0. This allows multiple applications to use the same login interface.
Step 3: Settings & API Configuration
Configure your application's settings, including callbacks and allowed logout URLs, typically aligning with your Webflow site URLs.
If your Webflow project requires API integrations, set up API permissions and roles within Auth0 to manage access control.
Here’s everything you need from application settings:
- Copy the domain and client ID.
For the sample project, the domain is “loudface-portal.us.auth0.com” and the client ID is “QReMmTgonGewSoIg3MMCBFDD9kEA9yN5”
Caution: Keep your “client secret key” a well-hidden secret. Don’t show it to anyone, or someone could use it to bypass the authentication and get access to your site.
- Application Login URI
This is an optional setting. If you have a specific login page where auth0 should send users in case of a failed authentication, this is where you put that.
- Allowed Callback URLs
Put the URL to the authenticated page here. For example, if you own bobthebuilder.com and want to give your clients access to the client portal, put the link to the client portal into this field.
If you put bobthebuilder.com/clients-dashboard, the user will first go from your site to loudface-portal.us.auth0.com for authentication. They will then be redirected to /clients-dashboard upon successful login.
- Allowed Logout URLs
This is the same as callback but for logout. If you want the users to be redirected back to the homepage upon logout, add that here.
- Allowed Web Origins
It tells auth0 which websites and applications are allowed to send users to loudface-portal.us.auth0.com for authentication.
Step 4: Create the Index.ts File
The most important part is adding all the necessary data to the Javascript file. For the purposes of this guide, I’ll be using code generated from Finsweet’s Developer Starter.
For auth0 integration, we need the “index.ts” file under the “src” folder. But it’s barebones, so you have to replace that with our “index.ts” file after making a few changes.
Here’s the link to our code on Notion. Go to the link and make the following changes in the index.ts file:
- Add your site / app name under the first console.log()
- Add your client ID and domain
- Under authorizationParams, add your redirect_uri.
Here's how these sections will look:
const init = async () => {
const client = await createAuth0Client({
clientId: 'QReMmTgonGewSoIg3MMCBFDD9kEA9yN5',
domain: 'loudface-portal.us.auth0.com',
authorizationParams: {
redirect_uri: '<https://loudface.webflow.io/>',
},
});
};
Step 5: Embedding Custom Code
In your Webflow project, you must embed custom code snippets provided by Auth0. This is typically done in the site's Header or Footer code sections in Webflow's site settings.
Once you have the index.ts file set up, copy it into the Github repo and compile the code. The output will be an input.js file. We’ll upload this file on jsDelivr to get the link to the script.
Note: Of course, you can put the code directly into Webflow but it’s much cleaner this way.

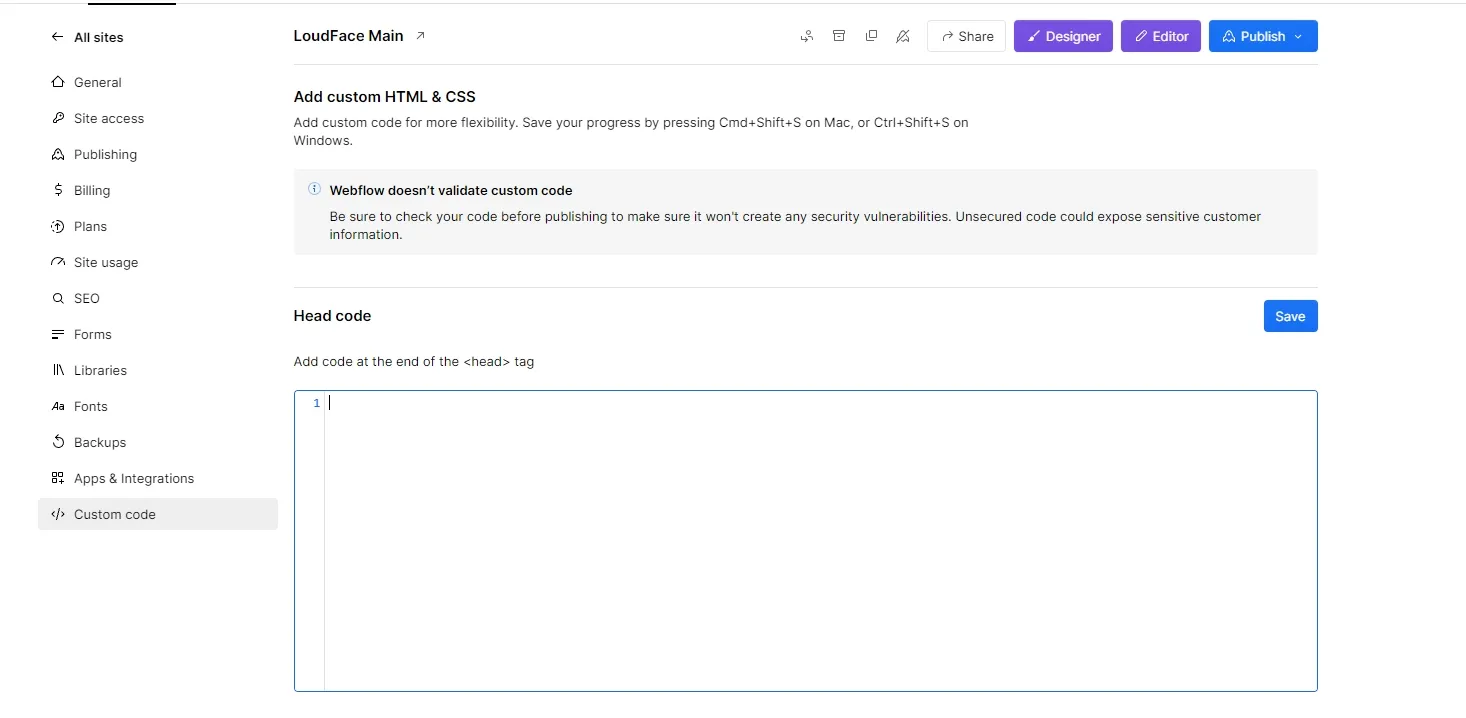
Go to your Webflow site settings, and click on Custom Code. In the header tag, add the following code:
<script src=”<https://cdn.jsdelivr.net/gh/><github--name>/<repo-name>/<folder-name>/<file-name.js>”> </script>
Step 7: Testing and Deployment
Once integrated, test the authentication flow thoroughly to ensure everything works as expected. This includes sign-up, login, password recovery, and any MFA processes.
After successful testing, deploy the changes to your live Webflow site.
Step 8 Auth0 API Integration (Optional)
If your site requires backend interactions, integrate Auth0 APIs into your Webflow project using custom JavaScript or third-party tools.
Customizing the Authentication Process
- Custom Login Pages: You can use HTML, CSS, and JavaScript to design these pages to match the look and feel of your Webflow site.
- Personalized User Flows: You can create personalized authentication flows in Auth0. For example, you can set up different flows for different types of users or actions, like signing up versus logging in.
- Localization: For a global audience, you can customize the authentication screens to support multiple languages, enhancing the user experience for non-English speakers.
Why use Auth0?
If you’re still not sure, here’s everything you will get out of auth0:
- Universal Login: Auth0 provides a secure, ready-made login page that you can customize to match your brand.
- Multifactor Authentication: Auth0's multifactor authentication provides an extra layer of security by requiring users to verify their identity using a second factor.
- Social Login Integrations: Auth0 allows users to log in with their social accounts, improving user experience and increasing conversion rates.
- Adaptable Platform: Auth0 is easy to implement and adaptable, making it a perfect fit for any application.
- Enhanced Security: Using advanced security measures, Auth0 helps protect sensitive user data and defend against potential breaches. Well, as long as you don’t accidentally reveal your authentication token.
- Scalability: Whether you’re running a small blog or a large e-commerce site, Auth0 scales to meet your growing authentication needs.
Troubleshooting Common Issues
While integrating Auth0 with Webflow, you might encounter some challenges. Here are common ones with their solutions:
1. Redirect and Callback URL Problems: Incorrectly configured callback URLs in Auth0 can lead to login failures. Verify that the URLs in your Auth0 application settings match those in your Webflow project.
2. Custom Domain Issues: If using a custom domain with Auth0, ensure it’s properly configured and verified within Auth0 and matches your Webflow site’s domain.
3. Login Page Not Displaying: If your custom login page isn’t displaying, check for conflicts with Webflow’s CSS or JavaScript. Ensure the Auth0 embed code is correctly placed and not overridden by Webflow’s default settings.
4. Slow Page Load Times: If the Auth0 script slows down your page load, consider implementing asynchronously or deferring the script to load after the main content.
Frequently Asked Questions (FAQs)
While Auth0 is a popular choice for authentication in Webflow, there are other services you can consider. Alternatives include Okta, Firebase Authentication, and Keycloak.
Auth0 provides clients with a centralized dashboard for comprehensive user management, including creating and managing user profiles, setting permissions, and monitoring user activities.
Auth0 integration primarily involves embedding custom code into your Webflow site. This functionality is available across various Webflow plans, including free and paid tiers. However, higher-tier plans may offer more advanced features and flexibility regarding custom code integrations.


